services
Epoxy Flake Garage Coatings
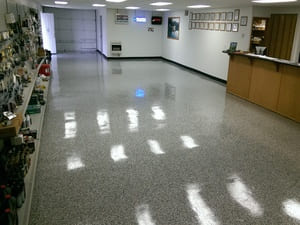
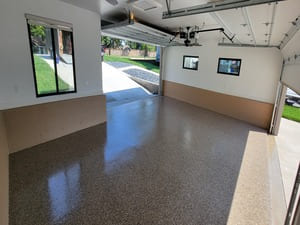
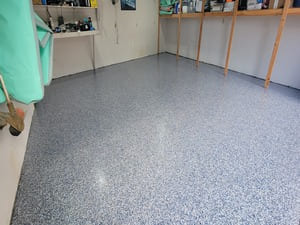
Epoxy flake garage coatings give your garage a clean, professional, and stylish look while providing enhanced texture, durability and protection to create that unique showroom garage floor!
Garage floors endure heavy foot traffic, vehicle use, and exposure to harsh chemicals, but at Custom Concrete Design LLC, our epoxy flake garage coatings are the solution for durability and aesthetic appeal. This specialized coating is a great choice for garages, offering the benefits of epoxy with the added beauty and slip-resistant texture of colorful flakes. Our coatings are designed to resist stains, dirt, and chemicals, ensuring that your garage floor stays in top shape for years.
We provide a wide range of colors and flakes, allowing you to create a customized look that complements your home or business. The unique flake finish provides a beautiful, textured surface that hides imperfections in the concrete while also enhancing its strength. The result is a functional yet visually appealing garage floor that adds value and durability to your property.
With our 22 years of experience in epoxy applications, we guarantee a flawless finish that’s both functional and stylish. Whether you’re upgrading your garage, basement, or shop, the epoxy flake coating is easy to maintain and adds to the overall aesthetic of your space, making it a smart investment for homeowners and businesses alike.
Epoxy Flooring Flake Color Options
Explore the most popular flake color options for your epoxy flooring project. From classic neutrals to bold tones, these top 20 selections provide a wide variety of choices to suit any style, whether you're upgrading a garage, commercial space, or interior floor. Find the perfect blend to enhance the look and durability of your flooring.


How we Prep the Concrete for our Coatings?
Installing an epoxy garage floor involves several key steps to ensure a flawless, long-lasting finish. Here’s a general overview of the process:
Step 1: Prep the Surface
Applying epoxy coatings requires precision and expertise. At Custom Concrete Design LLC, we take every step necessary to ensure the best results for your surfaces. The process begins with Shot blasting and/or Diamond Grinding the Entire Concrete Surface, we then shop vac thoroughly which cleans and prepares the concrete. This helps remove any dirt, grime, or old coatings that could interfere with the epoxy's adhesion and it allows the material to wick down into the pores of the concrete slab, to create the necessary bond between the concrete and epoxy material and a smooth open clean surface is key for long-term durability.
Step 2: Mix and Apply the Epoxy Base Coat
We apply the base layer of epoxy and or MVB (moisture vapor barrier) IF needed, once the primer coat has cured, the epoxy coating is prepared and applied to the garage floor. Following the manufacturer's instructions, the epoxy is mixed and then spread evenly using a squeegee then a roller one way and cross hatching the other way with that roller. This ensures a smooth, uniform finish across the entire surface.
Step 3: Broadcast the Flakes to 100% Coverage
Here’s where the magic happens! While the epoxy is still wet, we generously throw flakes (by hand or using a broadcast gun) until no wet epoxy is visible. This ensures full, even coverage. We’ll go heavy on the flakes to create a seamless, durable finish.
Step 4: Scrape and Remove Excess Flakes
After the epoxy cures (typically overnight), we use a floor scraper to knock down any loose or standing flakes, then vacuum up the excess. This leaves a nice, even surface.
Step 5: Apply the Clear Topcoat
Finally, we roll on a high-quality clear topcoat to seal everything in. This top layer adds durability, chemical resistance, and a glossy or satin finish, depending on your preference.
Final Result!
After application, we allow the epoxy to cure properly—1 day for foot traffic, 2 days before placing heavy objects, and 5 days for vehicle use. Once fully cured, your garage floor is ready to go! You’ll have a stunning, long-lasting epoxy flake floor that not only looks amazing but also stands up to daily wear and tear. Whether it’s a high-traffic workspace or a stylish upgrade for your home, our epoxy coatings are stain-resistant, easy to clean, and built for durability and style!
The entire installation process typically takes 4 days to complete, including time for the epoxy coating to cure properly. It’s important to note that the installation process may vary depending on the specific product used and the condition of the garage floor. A professional epoxy garage floor installer can provide detailed information on the installation process and answer any questions you may have.
DISCOVER WHAT OUR CUSTOMERS HAVE TO SAY ABOUT US
REVIEWS
REVIEW US ON GOOGLE
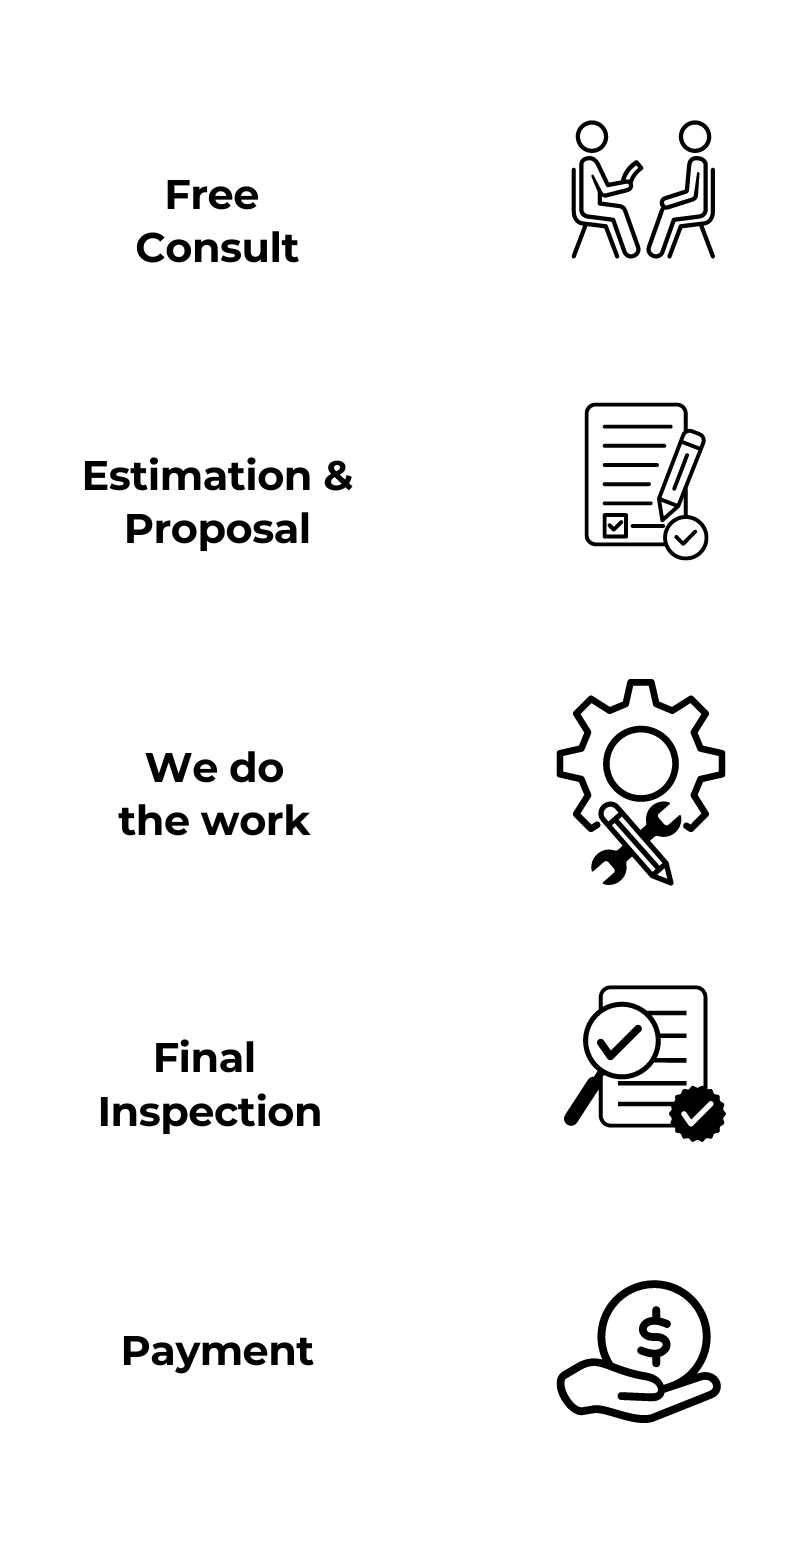
our process
Our process is simple and only contains a few simple steps
proudly serving these areas
Lake of the Ozarks
Osage Beach
Sunrise Beach
Lauri
Gravois Mills
Eldon
Camdenton
GreenView
Rocky Mount
Jefferson City
Versailles
READY TO take the next step?
get a free quote TODAY!
Custom Concrete Design LLC
(844) 628-6122
rick@concreteflooringlakeozark.com
CONTACT
business
our services
service areas
operating HOURS
Sun: Closed
Mon: 7:00am - 6:00pm
Tue: 7:00am - 6:00pm
Wed: 7:00am - 6:00pm
Thu: 7:00am - 6:00pm
Fri: 7:00am - 6:00pm
Sat: Closed